
Click the New Call button
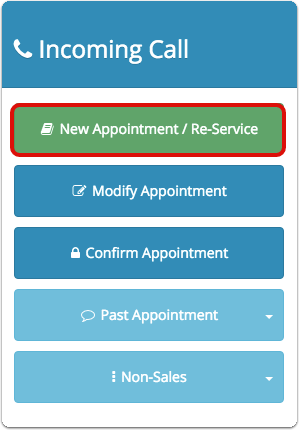
Click New Appointment/Re-Service
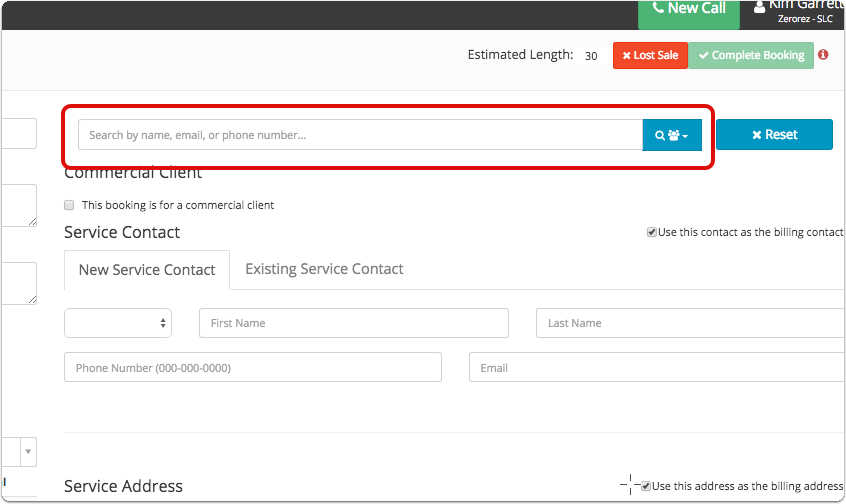
On the booking screen, search for the client that is requesting a re-service. You can search by name, email or phone number. You can click on the drop down button and choose to search specifically by email, phone number or invoice number to help speed up the search.
Select the client
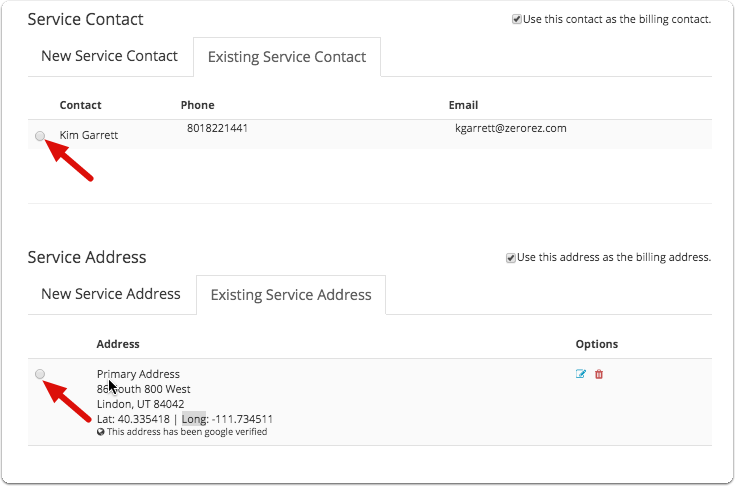
Once the client information loads, you need to select the service contact that is requesting the re-service, and the address where the re-service will take place.
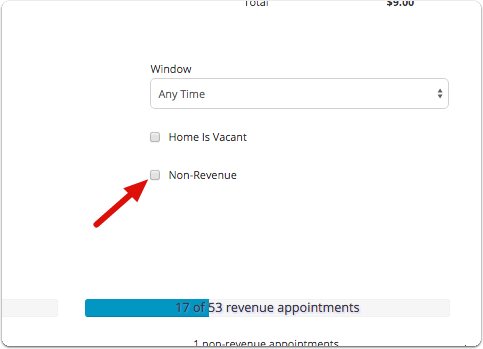
Select non-revenue
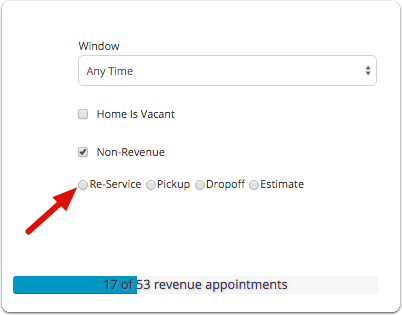
Select Re-Service
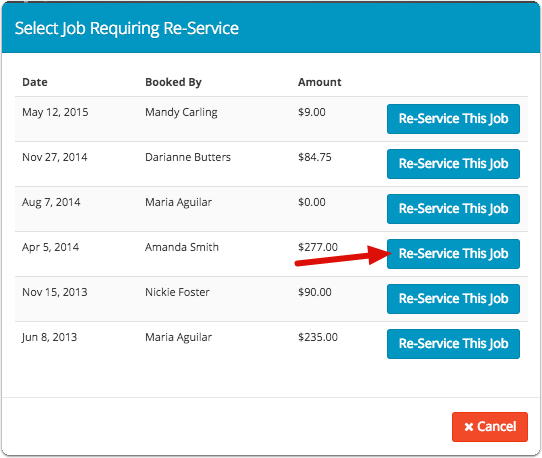
A pop-up will appear for you to select the job requiring re-service. Click "Re-service This Job".
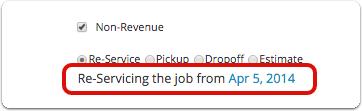
The job that will be re-serviced will be listed
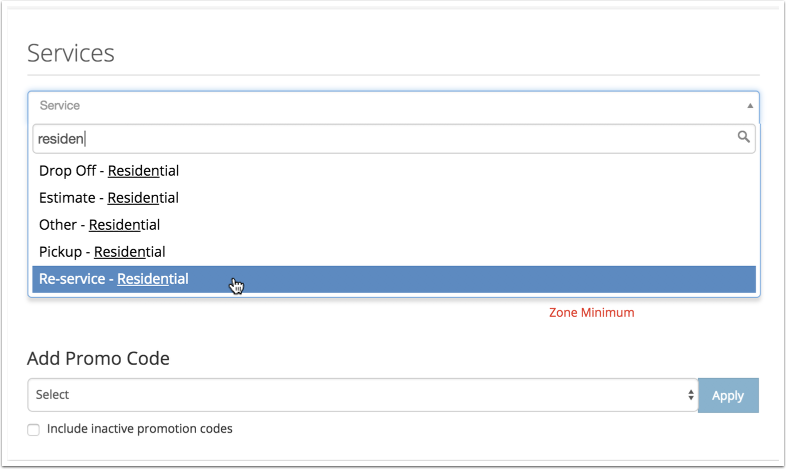
After you have selected the job to Re-service, you need to add a product to designate which Department this booking belongs to. Every booking must belong to at least one department.
Each Franchise has a non-revenue product for each non-revenue type and Department.
Select the "Re-service" product for the Department you want this booking to belong to.
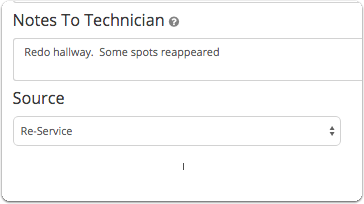
In the Notes to Technician section, enter the notes on the re-service.
In the Source, select Re-Service
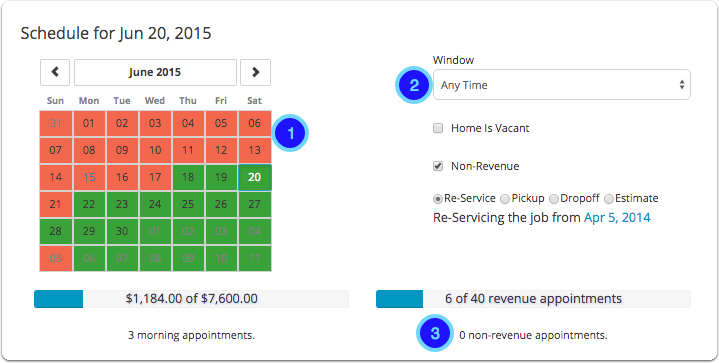
1. Use the calendar to select the date for the re-service
2. Select the window
3. Make sure to see how many non-revenue appointments are already scheduled for that day. Check with your manager to find what the maximum number of non-revenue jobs are allowed for each day.
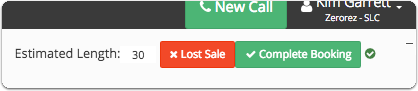
Click Complete Booking

A confirmation will appear letting you know that the re-service was saved successfully.
Comments
0 comments
Please sign in to leave a comment.